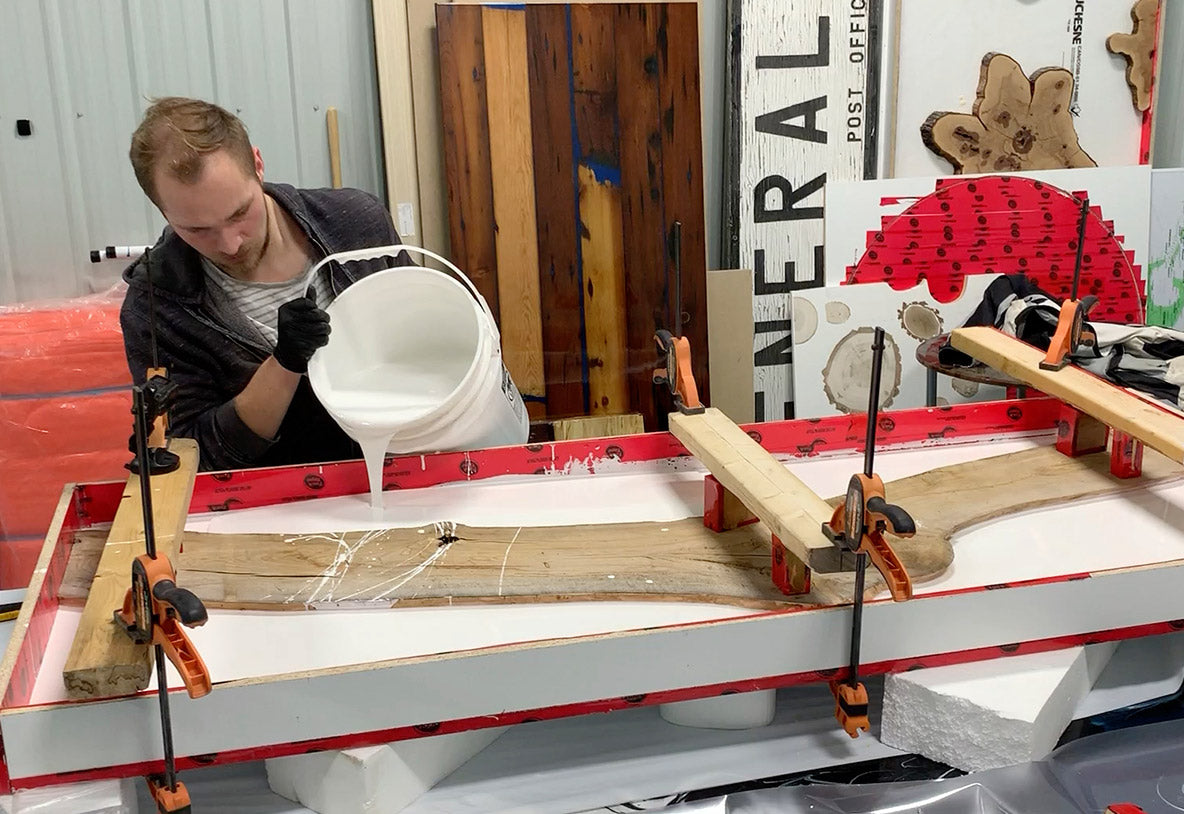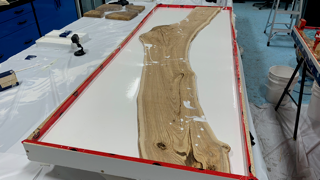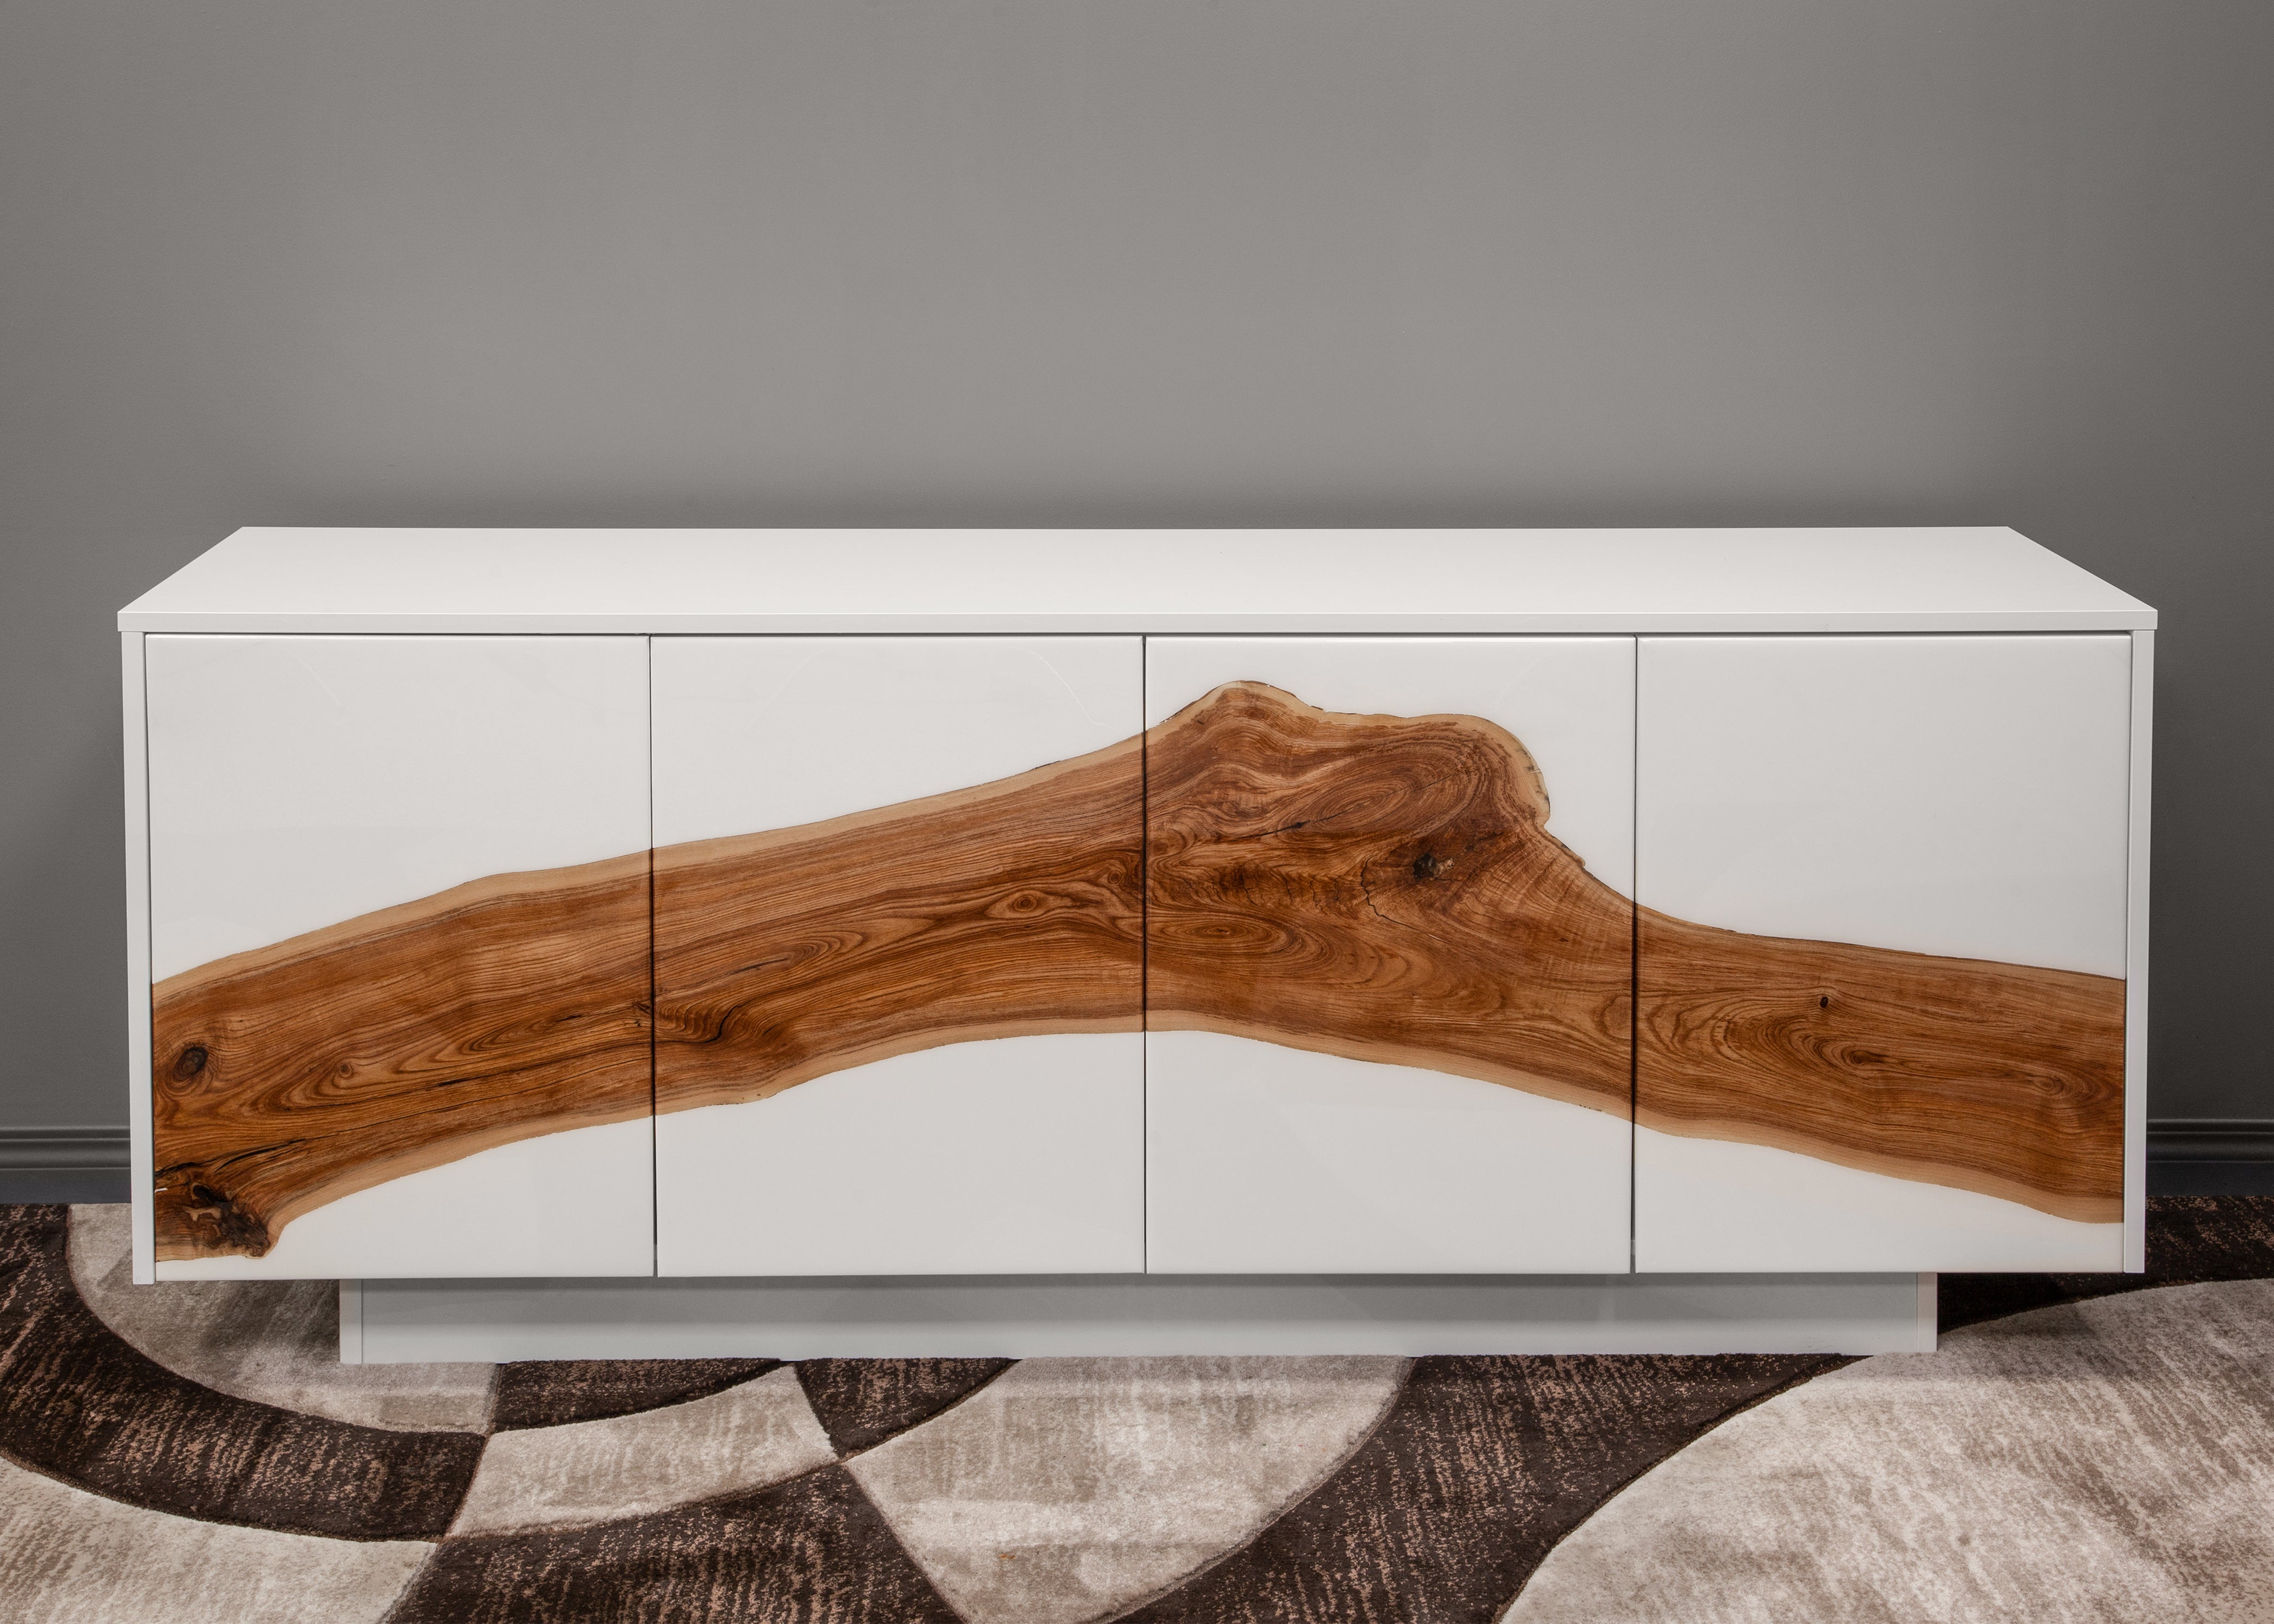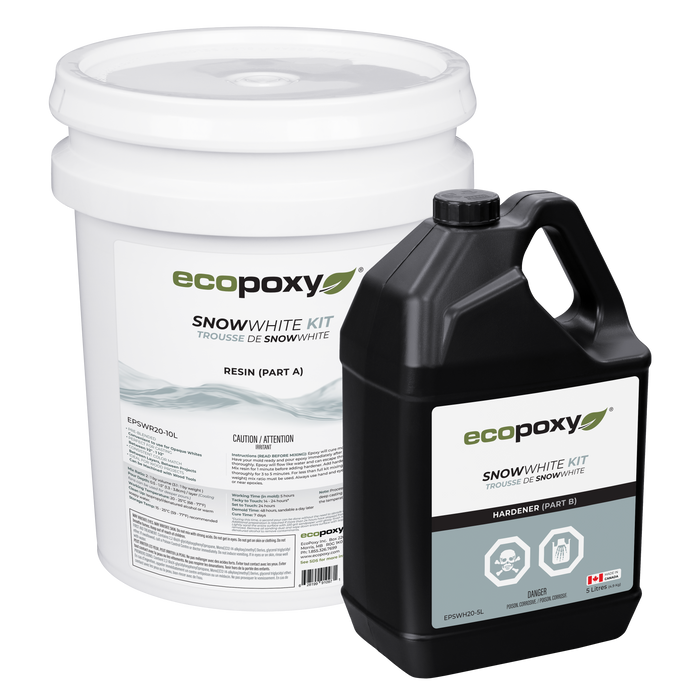
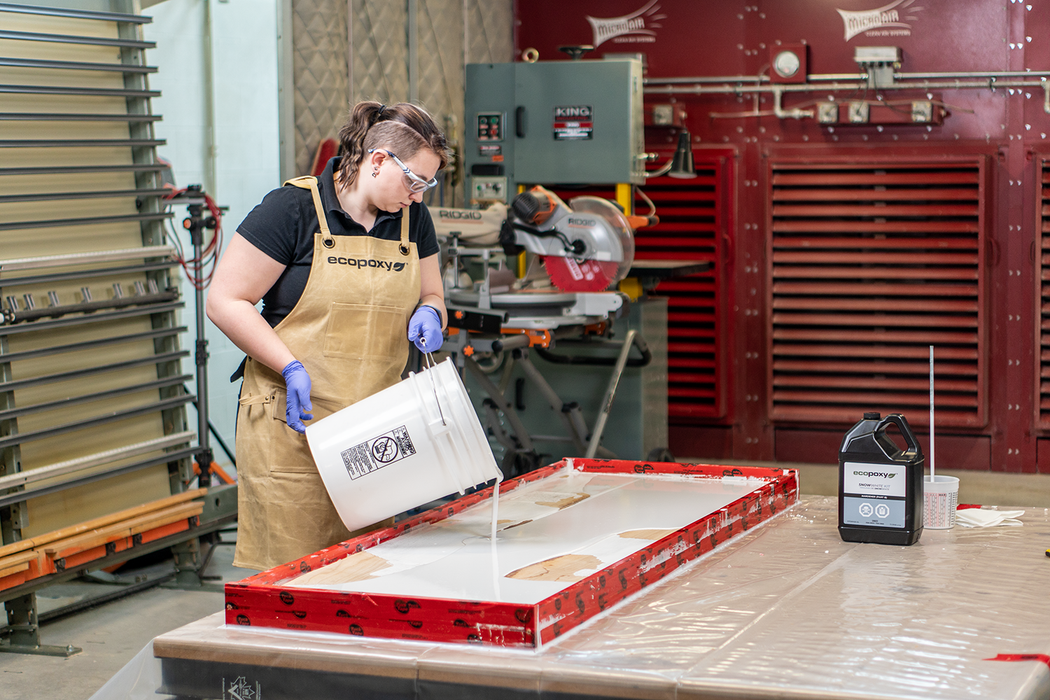
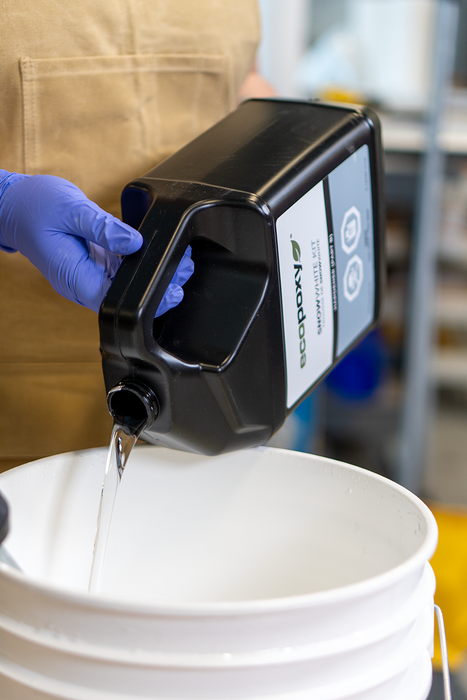
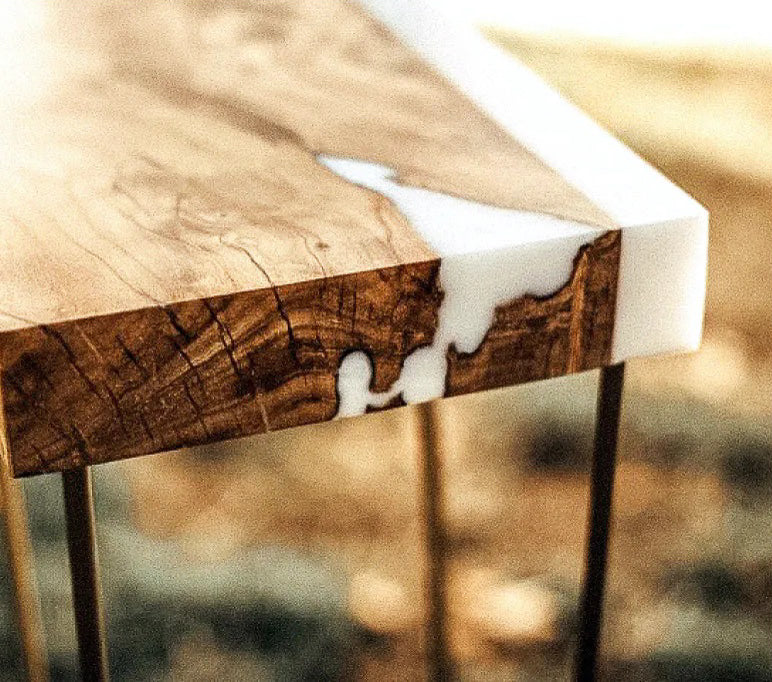

SnowWhite
Highly Pigmented, Pre-blended Casting Epoxy for Opaque Whites
Starting at: Original price
Original price
$471.96 USD
Starting at: $471.96 USD
Current price
$471.96 USD
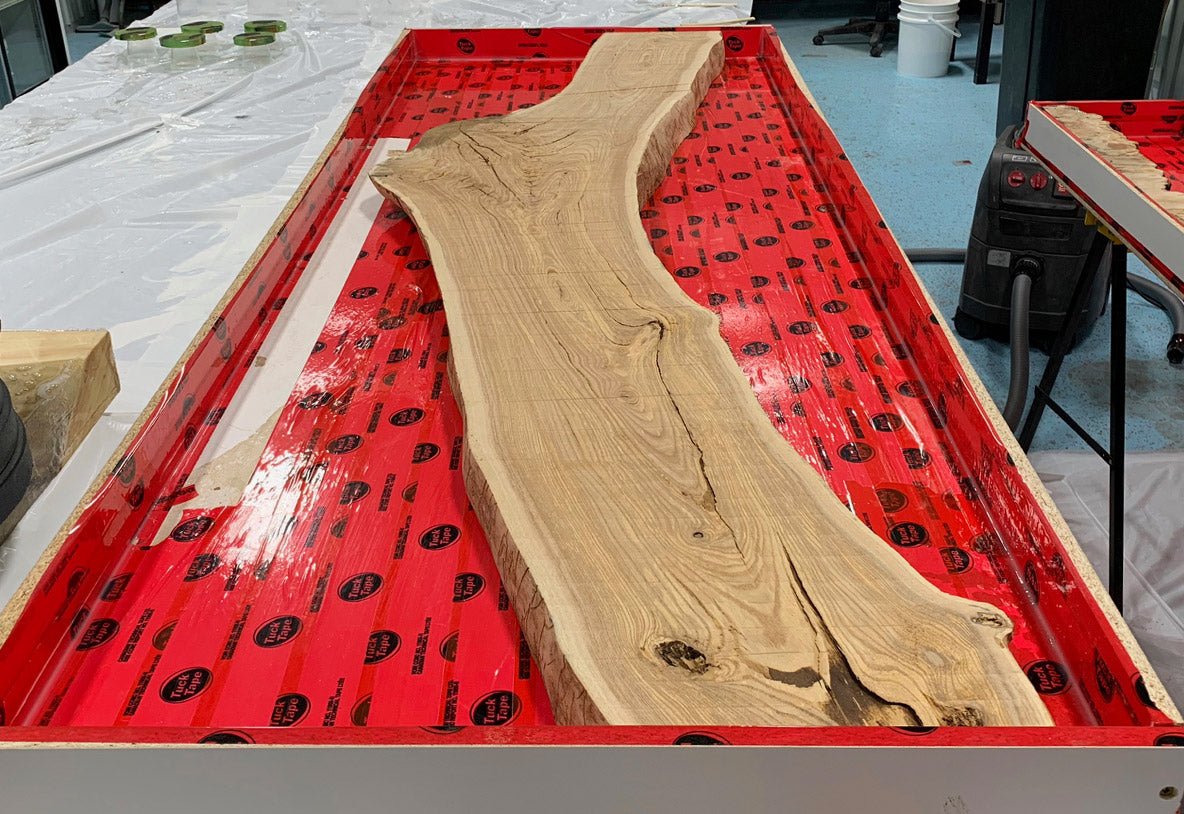
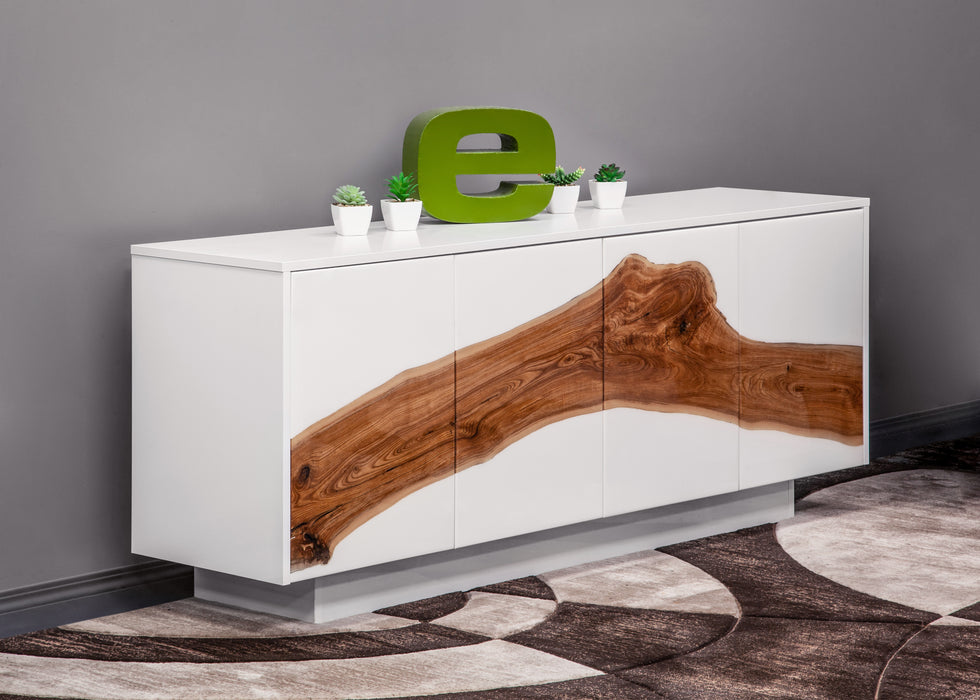
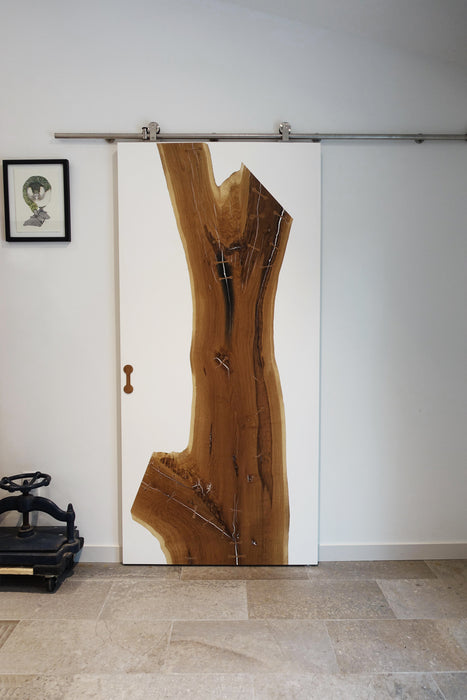
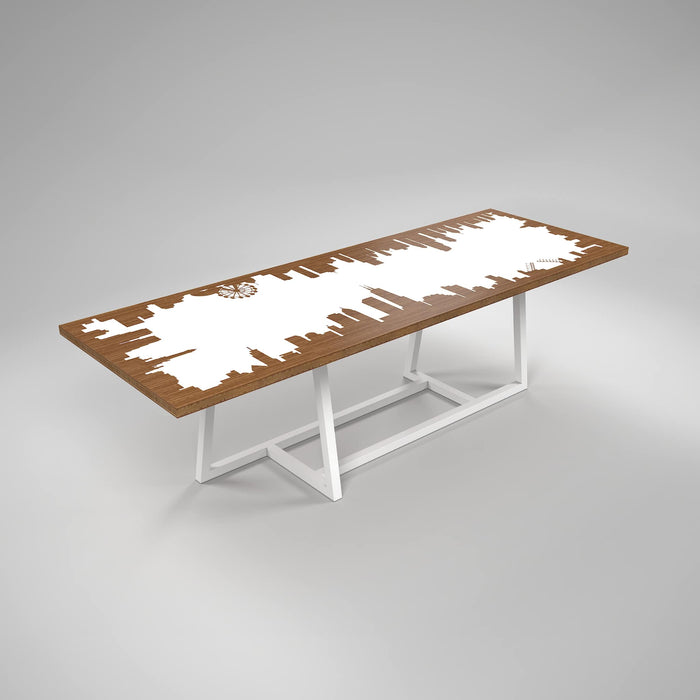
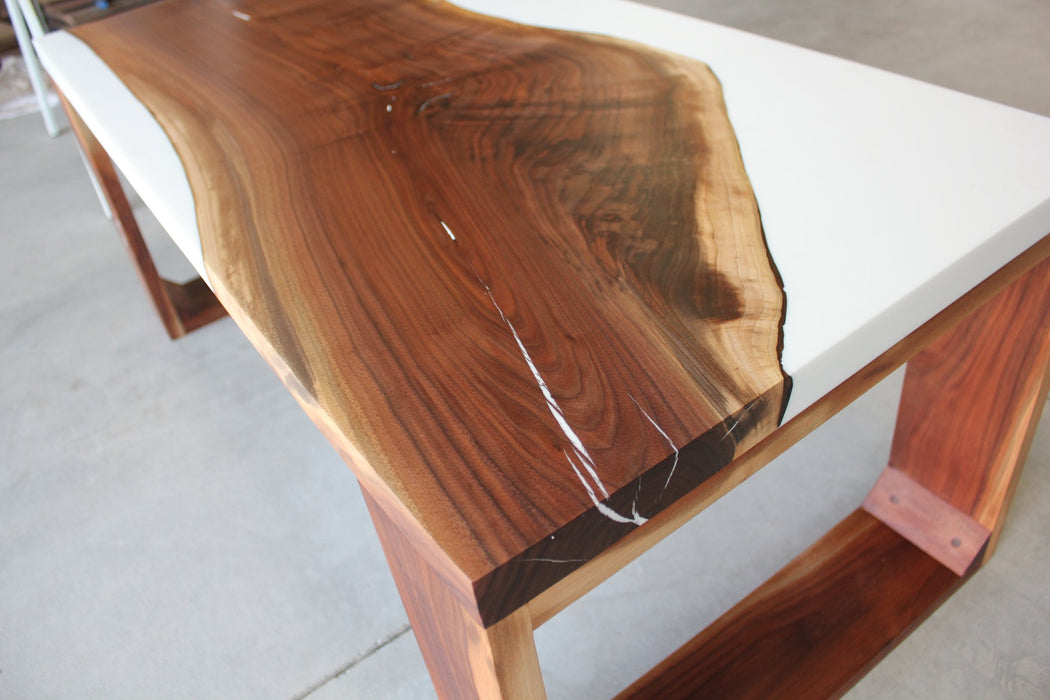
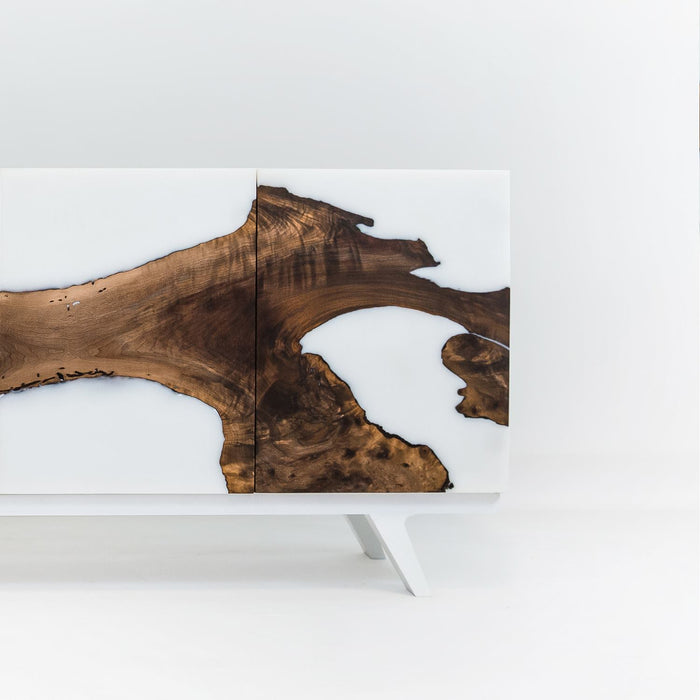
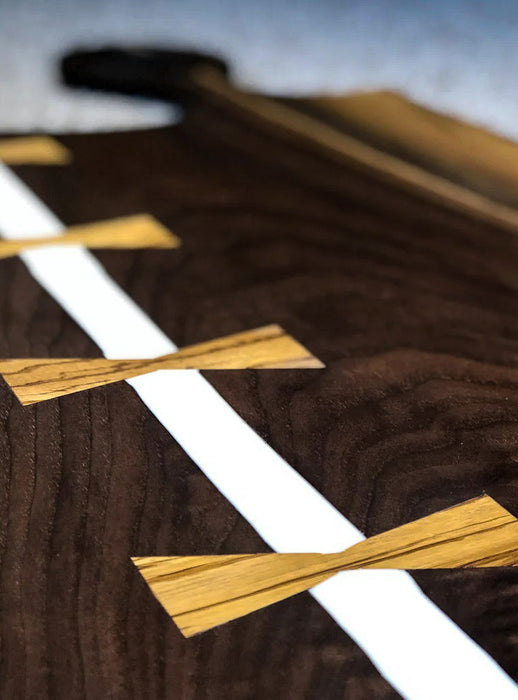
Perfect for Casting
½” to 1 ½” Thick per Layer
Unique Pre-Blend
No Need to Measure Pigments
Ideal for Wood Projects
Compatible with Most Finishing Methods and Substrates
Consistent Color Match
Between Layers, Between Projects